top of page

Georgia Southern
University
Electrical Engineering
Project Progress

Stage 1: Project Charter & Initiation
-
In this stage, we come up with a basic idea for our project
-
Research and project planning is crucial in this initial phase
-
Project proposal & abstract is generated


Advancing Technology
for Humanity
Stage 2: Budget, Work Breakdown & Scheduling
-
This stage is crucial for the molding of the project
-
Staying within a budget as well as keeping track of time is key for a successful project
-
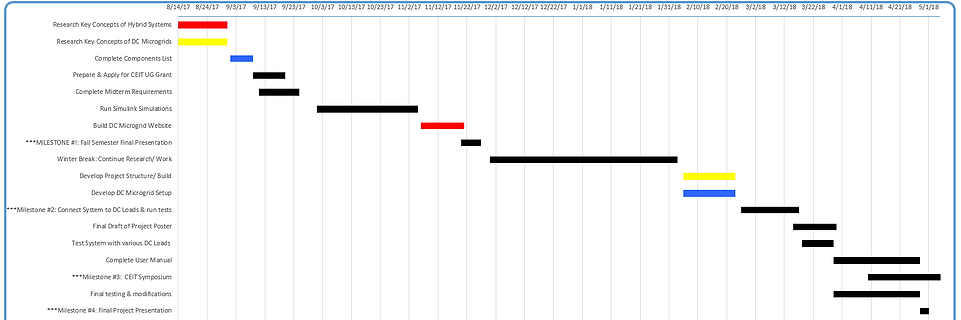
As this project is extensive and complex, staying on schedule is crucial. A Gantt chart has been created which has been used to divide and complete goals evenly within the group. This chart will be essential in helping with time management as there is no time leniency to fall behind on due dates and milestones.
-
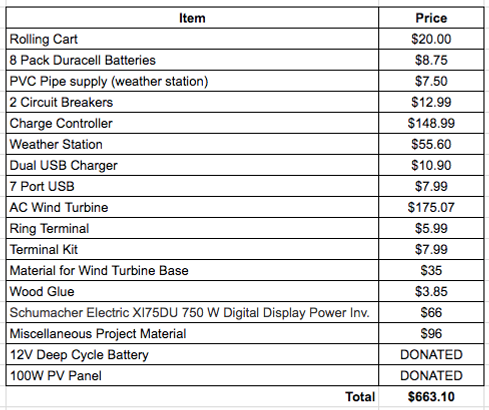
Also, we want to ensure that we can complete our project financially; therefore, having a detailed budget in the first stages is critical
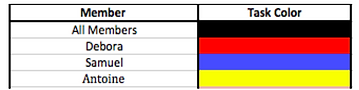
Updated Gantt Chart
Detailed Budget List
Stage 3: Project Simulations & Setup
(Refer to simulation tab for detailed simulations & results)
-
This stage is where the initial assembly of project & simulation begins
-
This stage has taken the most amount of time since we first needed to run various simulations before working with our actual components (we did not want to damage any equipment)
Simulations:
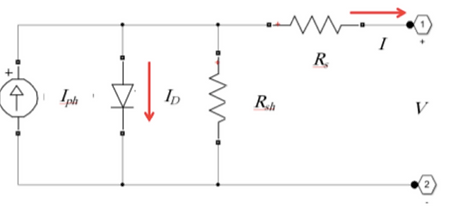
Circuit model of a solar cell
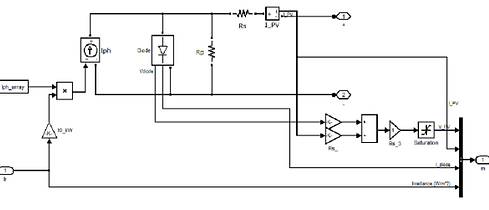
Simulink model of a solar cell using a single diode
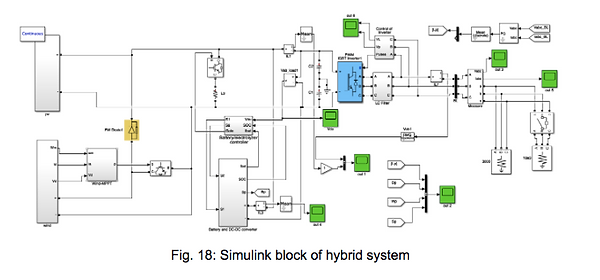
Simulink block of hybrid system
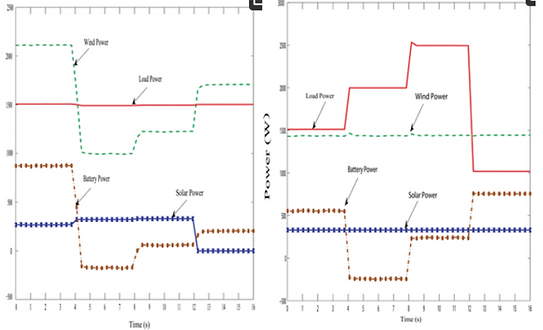
Powers distribution curve of the PV-wind hybrid system during the variation in hybrid power with fixed load.
Powers distribution curve of the PV-wind hybrid system during the variation in load with fixed hybrid power
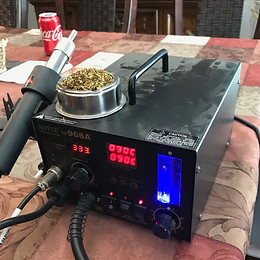
Component Testing/ Assembly:
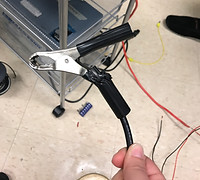
Testing charge controller with DC power supply
Testing our safety fuses
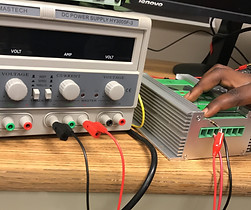
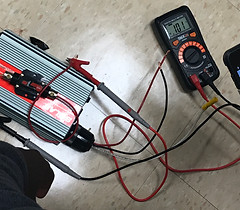
Testing charge controller with solar power (5.2A)
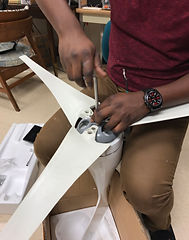
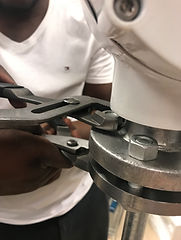
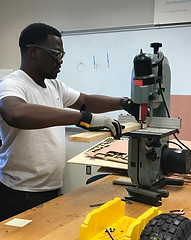
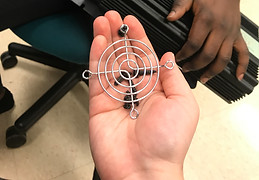
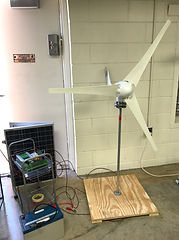
Setting up AC wind turbine and making a base for it

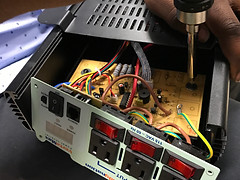
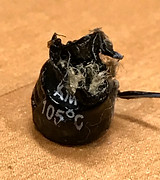
Replacing blown capacitor & fixing equipment (YIKES: short circuit)
Stage 4: Performance of prototype
-
This stage is when the system is stress tested to ensure everything is working properly
-
This phase is crucial because it is the stage before the final 5th stage when real loads will be connected.
-
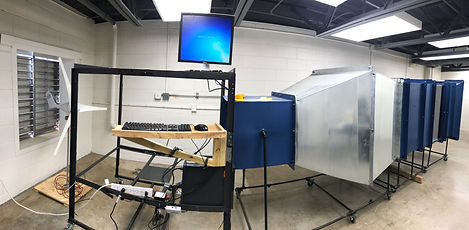
Training in this phase was required for operating the subsonic wind tunnel in the GSU mechanical lab
-
This is also the stage when we prepare our loads for final testing. Electrical wiring modification skills are highly required for this phase. We need to rewire our weather station (which runs on AA batteries) to be supplied by our battery source. Extreme caution and and electrical engineering techniques are needed.
Training on how to use the subsonic wind tunnel.
Dr. Mosfequr Rahman required us to take video tutorials before we could operate the machine.
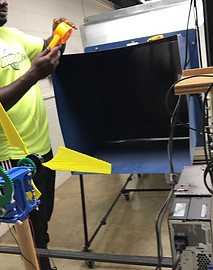


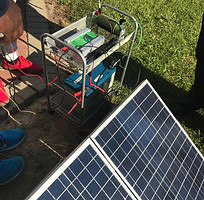
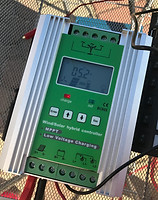
After completing training on the wind tunnel, we connected our entire system. The PV was out in the sun while the wind turbine was in front of the wind tunnel. We were able to confirm that our charge controller is working properly since our battery was being charged and all the data was displaying correctly on our controller. In the next phase we will be testing our actual system with a DC load.
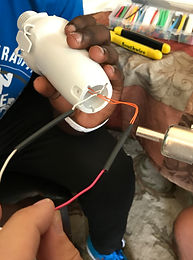
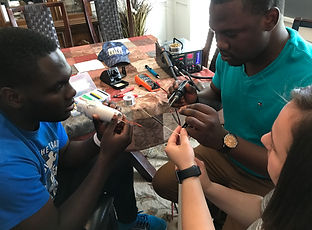
Soldering tools were used to rewire our DC weather station. Electrical engineering knowledge on key concepts and safety is required.
Steps:
1. Before soldering we tined the tip of our solder bit (tinning prevents oxidation of metal)
2. We then put the soldering iron on the wire and let it heat.
3. Now apply the solder lead uniformly on the joint.
4. After soldering the joint, we used a heat shrinkable sleeve to cover it up.
Stage 5: Final project demonstration & application
-
After many hours of research, months of simulation and testing/setup this is the final phase where our project all comes together to prove its success.
(Ballistic Trajectory Application Included)

Ballistic Trajectory MATLAB Function:
Here we implemented a MATLAB code which asks for inputs: Mass, CSA, Velocity, Angle, Acceleration due to gravity, Drag coefficient, Air density, etc. Once these inputs are initialized, the code is run and the below results are received.


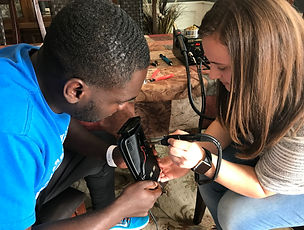
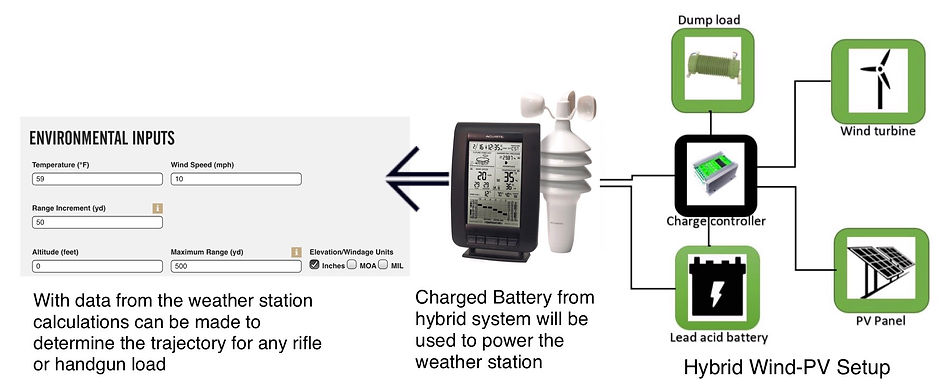
Ballistic Trajectory Application:
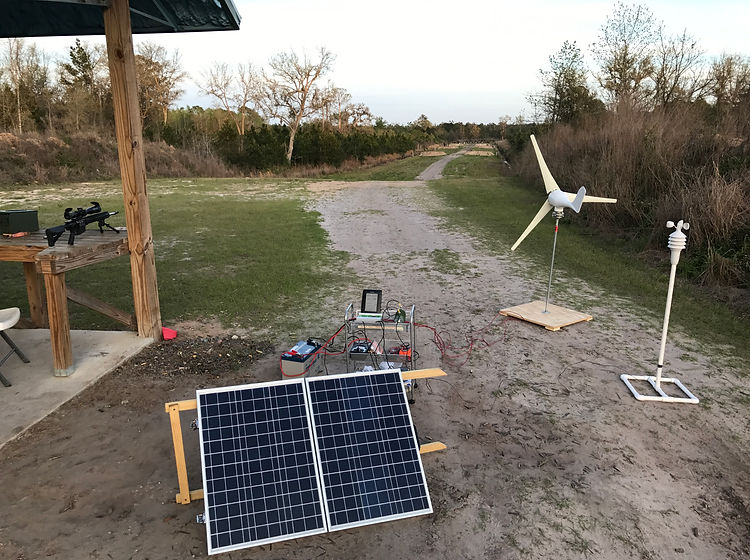
Our Hybrid Wind-PV DC Micro Grid is used to power our weather station (which is one of our DC Loads). After we soldered and we rewired our weather station, we connected it to the 7 outlet usb port (which receives its power from the charged battery). With the data we got from our weather station (temperature, wind speed, humidity, etc. we inserted the data into the official Ballistic Trajectory calculator. The gun scope was then adjusted according to the results of the calculator, which resulted in a bullseye each time.
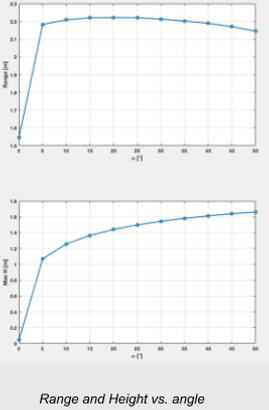
MATLAB RESULTS:
The 3 graphs show the affect the various inputs (mass, velocity, gravity, air density, etc) have on the way a bullet acts in the air after being shot.
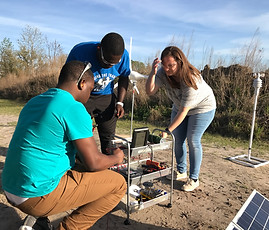
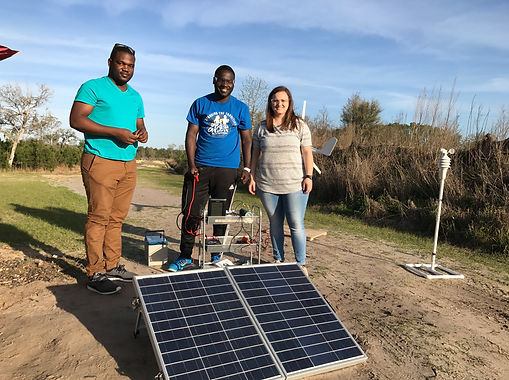
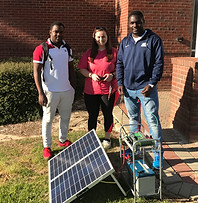
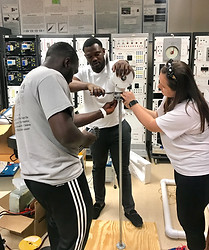
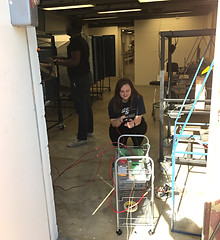
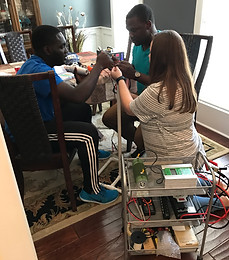
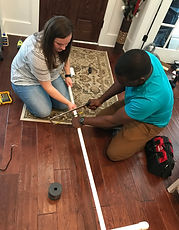
Here the team is setting up the official system to test the ballistic trajectory application.
Final setup of system:


bottom of page